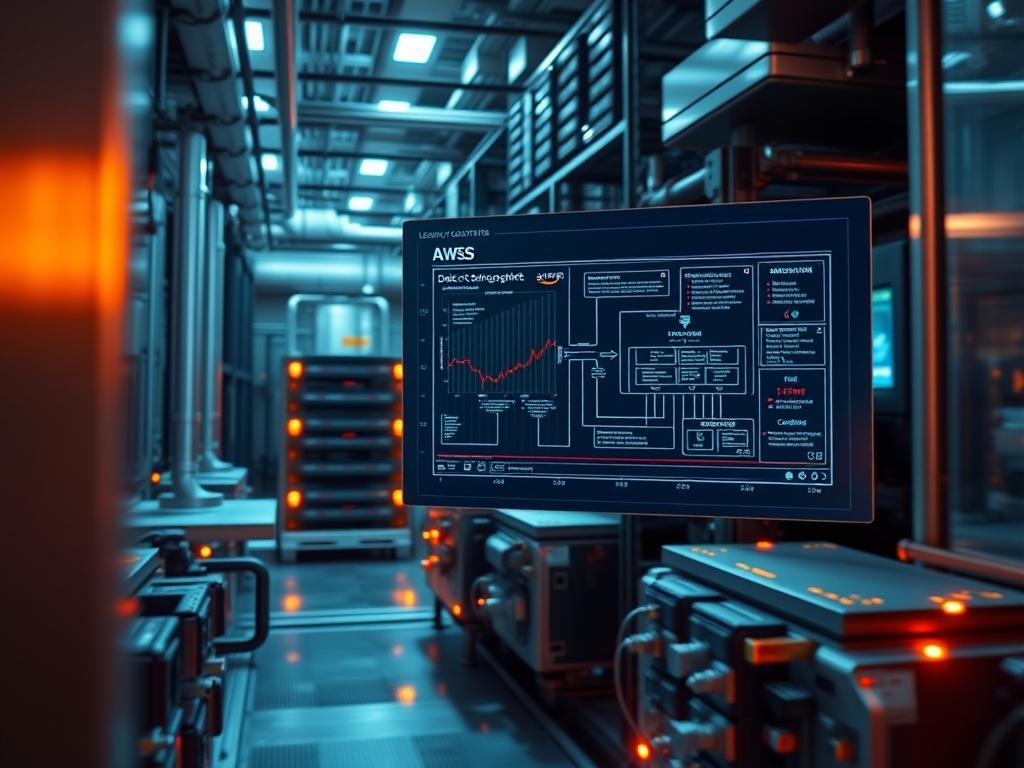
Mobile network traffic density serves as the primary metric for quantifying the volume of data transmitted over a specific geographic area within a determined timeframe; it is usually expressed in bits per second per square kilometer (bps/km2). In the architectural hierarchy of 5G New Radio (NR), this metric dictates the transition from macro-cell deployments to ultra-dense small-cell networks. As global data consumption scales, the challenge shifts from simple coverage to capacity management. High mobile network traffic density identifies localized bottlenecks where signal-attenuation and spectral-efficiency constraints limit the user experience. By auditing these patterns, systems architects can optimize the placement of User Plane Functions (UPF) and refine network slicing parameters to ensure low latency for mission-critical applications. This manual provides the technical framework for monitoring, analyzing, and scaling infrastructure to handle the massive concurrency of modern 5G data usage, focusing on the intersection of hardware throughput and software-defined networking logic.
TECHNICAL SPECIFICATIONS
| Requirement | Default Port/Operating Range | Protocol/Standard | Impact Level (1-10) | Recommended Resources |
| :— | :— | :— | :— | :— |
| Spectrum Analysis | 24.25 GHz to 52.6 GHz (FR2) | 3GPP Release 16 | 9 | 64GB RAM / 16-Core CPU |
| Telemetry Ingestion | Port 443 / 9090 | GRPC / Prometheus | 7 | NVMe SSD Storage |
| Backhaul Throughput | 10 Gbps to 100 Gbps | eCPRI / IEEE 802.3cm | 10 | QSFP28 Fiber Modules |
| Packet Inspection | N/A | GTP-U / PFCP | 8 | DPDK-enabled NICs |
| Timing Sync | Port 319 / 320 | PTP (IEEE 1588v2) | 9 | GPS/GNSS Grandmaster |
THE CONFIGURATION PROTOCOL
Environment Prerequisites:
Successful deployment of a traffic density monitoring node requires Linux Kernel 5.15 or higher with XDP (Express Data Path) support enabled. Hardware must include a Network Interface Card (NIC) supporting SR-IOV (Single Root I/O Virtualization) to bypass standard kernel overhead. All nodes must be synchronized via Precision Time Protocol (PTP) to ensure millisecond-accuracy across distributed sensors. Permissions require sudo or root access to modify kernel parameters and access raw socket buffers.
Section A: Implementation Logic:
The engineering design relies on the decapsulation of GTP (GPRS Tunnelling Protocol) headers at the network edge. Because 5G traffic is encapsulated within these tunnels, standard NetFlow collectors often fail to see the internal IP headers of the User Equipment (UE). The implementation logic uses a sidecar pattern where a dedicated probe monitors the N3 interface between the Radio Access Network (RAN) and the UPF. By calculating the ratio of active PDU (Packet Data Unit) sessions to the available physical resource blocks (PRB), the system derives a density map. This approach is idempotent; repeating the configuration steps will not cause routing loops or duplicate telemetry streams.
Step-By-Step Execution
1. Initialize the High-Performance Packet Buffer
Identify the target interface using ip link show. For high-density environments, the system must allocate hugepages to the DPDK (Data Plane Development Kit) environment to prevent memory fragmentation during peak bursts.
System Note: Using dpdk-devbind.py –status verifies that the NIC is bound to the correct driver. This action detaches the physical asset from the standard Linux networking stack and hands control to the optimized userspace driver; this reduces interrupt latency significantly.
2. Configure the GTP-U Decapsulation Probe
Edit the configuration file at /etc/opt/network-probe/config.yaml to define the local S-GW (Serving Gateway) or UPF IP addresses. Ensure the local_teid_range is broad enough to accommodate expected concurrency.
System Note: The probe utilizes the libpcap library or AF_XDP sockets to intercept traffic. This allows the system to inspect the inner payload without terminating the connection; it ensures that the monitoring process remains transparent to the end-user.
3. Establish Telemetry Export via gNMI
Run the command systemctl enable –now telemetry-exporter. Verify the service status using journalctl -u telemetry-exporter -f.
System Note: This service converts raw packet counts into structured protobuf messages. By mapping the GPS coordinates of the gNodeB (5G Base Station) to the throughput data, the system generates the spatial mobile network traffic density metric.
4. Apply Thermal and Power Governance
Execute cpupower frequency-set -g performance on all monitoring cores.
System Note: High-throughput packet processing generates significant thermal-inertia within the server rack. Setting the scaling governor to performance prevents the kernel from down-clocking the CPU during brief lulls in traffic; this prevents jitter when a sudden burst of packets arrives.
5. Validate Metadata Injection
Use tcpdump -i any -n port 2152 -c 100 to verify that GTP-U traffic is flowing correctly and being seen by the probe.
System Note: Port 2152 is the standard for GTP-U. Verification at this layer ensures that the physical-layer connectivity is stable before the higher-level analysis tools begin processing the data usage statistics.
Section B: Dependency Fault-Lines:
The most common failure point in monitoring mobile network traffic density is a mismatch between the MTU (Maximum Transmission Unit) of the physical link and the encapsulated tunnel. If the MTU is set to 1500 but the GTP overhead adds 40 bytes, fragmentation will occur; this leads to severe packet-loss and degraded throughput. Another bottleneck resides in the conntrack table of the Linux kernel. In high-density scenarios with millions of concurrent sessions, the table may overflow. This can be mitigated by increasing net.netfilter.nf_conntrack_max via sysctl.
THE TROUBLESHOOTING MATRIX
Section C: Logs & Debugging:
When traffic metrics disappear or show zero density, the first point of audit is the interface statistics. Use ethtool -S [interface_name] to look for rx_dropped or rx_errors. If drops are present at the NIC level, the system-bus (PCIe) or the CPU cannot keep up with the ingress rate.
Log Analysis Path: /var/log/network-analytics/error.log
System Error Code 502 (Gateway Timeout): Indicates that the telemetry collector (e.g., Prometheus) cannot reach the exporter. Check firewall rules using iptables -L to ensure port 9090 is open.
System Error Code 403 (Permission Denied): Occurs when the probe attempts to bind to a raw socket without the CAP_NET_RAW capability. Fix this using setcap cap_net_raw,cap_net_admin=eip /usr/bin/network-probe.
Visual Cues: On a physical spectrum analyzer, a “sawtooth” pattern in the signal-to-noise ratio (SNR) often indicates external interference; this can artificially lower the perceived mobile network traffic density by forcing retransmissions.
OPTIMIZATION & HARDENING
Performance Tuning:
To maximize concurrency and minimize latency, implement CPU pinning. Use taskset -c 0-7 [process] to isolate the packet processing engine on specific physical cores. This prevents context switching and cache misses. Furthermore, adjusting the ring-buffer size of the NIC using ethtool -G [interface] rx 4096 allows the hardware to buffer more packets during momentary CPU spikes.
Security Hardening:
Raw packet access is a security risk. All telemetry exports must use TLS 1.3 encryption. Access to the configuration directory /etc/opt/network-probe/ must be restricted to the admin group with chmod 750. Utilize fail2ban to monitor for unauthorized attempts to access the management interface. Ensure that any unused physical ports on the monitoring hardware are administratively shut down using ip link set [interface] down to prevent physical intrusion.
Scaling Logic:
As the mobile network traffic density increases beyond the capacity of a single node, move to a leaf-spine architecture. Deploy horizontal clusters of UPF instances and load-balance the monitoring probes using a BGP (Border Gateway Protocol) Anycast setup. This ensures that even if one probe fails, the traffic density data continues to flow to the central analytics engine without loss of continuity.
THE ADMIN DESK
How do I clear the cached density metrics?
Access the temporary data store at /var/lib/network-probe/cache and execute rm -rf *. Then, restart the service with systemctl restart network-probe. This is an idempotent action that resets the local counter without affecting the upstream database.
Why is my throughput lower than the theoretical limit?
Check for signal-attenuation caused by physical obstructions. Use mmwave-scan –get-noise to verify the environment. Latency often stems from high encapsulation overhead or an undersized PTP timing buffer; ensure the grandmaster clock provides a stable 1PPS (pulse per second) signal.
How can I monitor the packet-loss in real-time?
Use the watch -n 1 “ip -s link show [interface]” command. Monitor the dropped and overrun columns. Frequent overruns indicate that the system’s internal bus speed is insufficient for the current mobile network traffic density.
What is the “Encapsulation Overhead” penalty?
GTP-U encapsulation adds approximately 40 to 60 bytes per packet. In small-packet environments (like VoIP), this can consume up to 20 percent of the total throughput. Ensuring the MTU is set to 1600 (Jumbo Frames) on the backhaul mitigates this.
Is it safe to run this on a virtual machine?
While possible, it is discouraged for high-density environments. Virtualization introduces non-deterministic latency. If a VM must be used, ensure the NIC is passed through using PCI-passthrough to minimize the hypervisor’s impact on signal processing and packet timing.